Posted in Warm the Soul

A Handful of Love: Chocolate Chip Oatmeal Cookies


thepartysinthekitchen.me
Hero, my granddaughter, with a handful of yummy love.
When I was growing up my mom used to make the most delicious chocolate chip oatmeal cookies. One of my most vivid memories is an image of one of her cookies. It was big as my hand and I felt so blessed (my adult thought about my feelings then) to have it.

The thing is, cookies aren’t a need. We indulge simply because we want to. The is just something about them when they come from an oven in someone’s kitchen. Store bought never quite invoke the same feeling of warmth and specialness. Homemade cookies are like a hug making life just a little sweeter. Everybody needs a little love now and then.

Fact:

Life is better with fresh baked cookies.


Sadly, I don’t have my mom’s original recipe for her Chocolate Chip Oatmeal Cookies, but I have found one that everybody loves. Recently, I was told by a friend that she was dreaming about these cookies. You can make them with straight chocolate chips but I like to mix it up with some raisins and nuts. There is really no limitations on the mix-ins. Use your favorites. Enjoy!


Chocolate Chip Oatmeal Cookies

Ingredients

  • 1 cup butter, you can use unsalted but I prefer salted
  • 1 cup brown sugar
  • 1/2 cup granulated sugar
  • 1 large egg
  • 1 large egg yolk
  • 1 tablespoon vanilla extract
  • 2 cups flour
  • 1 cup oats
  • 1 teaspoon baking powder
  • 1 teaspoon baking soda
  • 1 teaspoon salt
  • 3 cups chocolate chips, or a combination of chips, nuts, and/or dried fruit

Directions

  1. Preheat oven to 325 degrees F.
  2. Beat together butter and sugars until smooth.
  3. Add egg and egg yolk, and vanilla one at a time. Beat well after each addition.
  4. Add flour, baking powder, baking soda, and salt. Mix until everything is completely incorporated.
  5. Stir in oats until uniform.
  6. Mix in chocolate chips or your own combination of yumminess.
  7. Form small, walnut-sized balls of dough with hands or scoop. You can make bigger if you want a hand sized cookie. These days, I want several smaller ones. Hehe.
  8. Drop balls/scoops of cookie dough onto a cookie sheet that has parchment paper or has been greased a bit with some butter.
  9. Bake for 12 to 17 minutes. I live at 4000 feet above sea level, so my cookies took about 14 minutes.

Yield: Depends on the size. Walnut-sized dough balls yield about 4 dozen.


Posted in Dumping Dinner, Main Dish, Slow Cooking

Dumping Dinner: Butter Chicken

Here’s your Dumping Dinner for this week. Butter chicken or murgh makhani is an Indian dish of chicken in a mildly spiced curry sauce. It actually came to be in the 1950s because of leftovers. See story here. A few more than normal ingredients but only minimal chopping. It is delicious. Enjoy!

Butter Chicken or Murgh Makhani

[No butter. Just yumminess.]

  • 4-6 chicken breasts or thighs
  • 1 15-ounce can diced tomatoes
  • 1 15-ounce can coconut milk
  • 3 cloves garlic, minced
  • 1 onion, diced
  • 2 teaspoons Garam Marsala*
  • 1 teaspoon curry powder
  • 1 teaspoon salt
  • 1 teaspoon pepper

Dump in one-gallon freezer. Seal and freeze.

To cook: 6-8 hours on low or 4-6 hours on high. When finished, remove meat slice or shread. Serve with sauce.

Meal Maker—Serve with brown rice and your choice of veggies. Garlic naan, Indian flatbread is a must. Yum!

*Garam Marsala is a blend of ground spices common in India, Pakistan, and other South Asia Cuisines. You can find it in the spice section of most grocery store or online. The following is a quick recipe that will do the trick.

Garam Marsala

  • 1 tablespoon ground cumin
  • 1 1/2 teaspoons coriander
  • 1 1/2 teaspoons ground cardamom
  • 1 1/2 teaspoons ground black pepper
  • 1/2 teaspoons ground cloves
  • 1/2 teaspoons ground nutmeg

Mix all ingredients and store in airtight container.

Enjoy!

Please leave a comment and let me know what you’ve been cooking up in your kitchen. I would love to hear.

Posted in Easy Recipes for Busy Days, Matters of the Heart, Warm the Soul

Dumping Dinner: Chicken and Rice Soup

thepartysinthekitchen.me

I received this text this morning from my daughter, Charity—

Hey, Mom, we all got sick last night and were wondering if you could go to the store for us.

When my daughter says all, she is talking about a lot of people. You see, she has six children, age 10 and under. The flu at her house is serious business especially when she has it, too. So, I did what any mama/grandma would do. I brought her requested items of chicken soup, saltine crackers, and ginger ale to her front door, peeked in, hugged the one non-sick child, and said a quick prayer for their recovery on my way back to my car. Oh, man, it’s gonna be a long day over there.

I wish I had been more prepared. It would have been much more comforting to have some homemade chicken soup to take, but I didn’t have what I needed so I bought the canned instead. Now that I’m back home, I have come up with a Chicken and Rice Soup that can quickly be cooked up on the stove-top or in the crockpot. I have included directions for freezing as well. That way, when you or someone you love comes down sick, in a very short time you can have some comfort simmering away.


Chicken and Rice Soup

Ingredients

  • 1 pound chicken breasts
  • 1 small onion, diced
  • 1 red bell pepper, diced
  • 2 carrots, diced
  • 2 celery stalks, diced
  • 2-3 garlic cloves, minced
  • 1 ½ teaspoons salt
  • ½ teaspoon pepper
  • ½ teaspoon dried thyme
  • ¼ teaspoon dried sage
  • ¼ teaspoon dried rosemary
  • 1-2 bay leaves
  • 6 cups chicken broth
  • 1 8.5 ounce pouch shelf-stable rice or rice-mixture of your choice or 1 ½ cooked rice.

Directions

  1. Add all ingredients except rice into a 6-quart crock pot then cook on low for 4 hours or until chicken breasts are cooked through. If using stove-top, simmer everything except rice until chicken is tender.
  2. Remove chicken and shred. Stir back into soup along with rice.
  3. Serve.
  4. Enjoy!

For freezing:

Dump all ingredients except chicken broth and rice into 1 gallon freezer bag, close, label and freeze. To cook follow directions above adding 2 hours to your cooking time.

Extra:

This soup can be easily transformed into what you crave or adjusted to what you have in your pantry. Experiment and let me know how it turns out.


Posted in Easy Recipes for Busy Days

Dumping Dinner: Southwest Chili

thepartysinthekitchen.me

Life has been a whirlwind around my house these past few weeks with deadlines and travel.

I must apologize for neglecting you all in keeping up with my commitment to post some yummy dump dinners every week. With all the activity around here, I have depleted my own supply. So, it’s time to stock up, but before I do, here is one recipe you can dump in your crock pot right now. There is a little chopping involved, but at supper time, you will have a pot full of yumminess.

Ingredients

  • 1 onion, chopped
  • 1 bell pepper, chopped
  • 1 garlic clove, minced
  • 1 pound ground beef
  • 1/4 cup chili powder
  • 1 tablespoon cumin
  • 1/2 teaspoon garlic powder
  • 1 teaspoon fresh ground pepper
  • 2 16-ounce jars of mild salsa
  • 1 14.5- ounce can black beans, drained
  • 1 14.5- ounce can kidney beans, drained
  • 1 14.5- ounce can sweet corn, drained
  • 1 7-ounce can green chilies drained

For serving

  • Fresh grated cheddar cheese
  • Green sliced onions
  • Sour cream
  • Tortilla chips

Directions

  1. Place all ingredients except those for serving in a crock pot. Leave the ground beef in a chunk to cook.
  2. Cook for 6-8 hours on low.
  3. Before serving use potato masher to break up the ground beef into smaller pieces.
  4. Serve with suggested toppings or cornbread would be delish, too.
  5. Enjoy!

To freeze before cooking.

  1. Dump all ingredients except those for serving.
  2. Label and freeze.
  3. When time to cook dump frozen meal in crock pot and cook 8-10 hours.

Don’t ever miss a post. Be sure to sign up to receive the latest recipes directly to your email. Or connect with me on Facebook at The Party’s in the Kitchen.

Tell me what you have been cooking up in your kitchen? I would love to hear from you. Please leave a comment.


Posted in Dumping Dinner, Easy Cooking, Slow Cooking

Dumping Dinner: Beef Stroganoff 

Thepartysinthekitchen.me

This week, I’m back in Oklahoma for spring break to watch over five-year-old Hero while her parents work. This morning, I dumped one of my daughter’s frozen dinners into the crock pot. While the stroganoff cooked away, we had time to play cards, watch Magic School Bus, and paint our nails. It was a very fun day, and at the end we had something pretty delicious to eat. We added broccoli and chopped salad to make it a meal.

Beef Stroganoff

Ingredients

  • 1 ½-2 pounds stew meat 
  • ½ cup chopped onion 
  • 2 cans golden mushroom soup 
  • ½ cup water 
  • 1 cup sour cream 
  • 1 tablespoon minced garlic 
  • 1 package onion soup mix 
  • 1 pound sliced mushrooms, optional 

     For serving:

  • 16 oz egg noodles 

Instructions

  1.  Dump all ingredients except noodles into crock pot.  
  2. Cook on low 6-8. 
  3. Cook noodles according to package directions. Add to meat mixture and serve. 

Note: Instead of adding the mushrooms at the beginning, I sautéed them and added with the noodles at the time of serving. You could also use canned mushrooms in place of the fresh.

Thepartysinthekitchen.me
To freeze
: dump ingredients except noodles into 1 gallon freezer bag, seal and freeze.  

Never, ever underestimate the importance of having fun.

Posted in Dumping Dinner

Dumping Dinner: Beef & Broccoli

broccoli-1974764_1920

As promised. . .

Here is another Dump Dinner that will make those busy days just a little bit easier. I like that I can just get dinner going in the morning when my energy is high and my resolve to eat well is still intact. After my visit in Oklahoma, my daughter Genny was inspired to make some more dinners for her freezer after the ones I made ran out. She and her husband packaged up seventeen in just an hour and a half. Here is one they tried this week. She reported that the Beef and Broccoli was their favorite so far.

Beef and Broccoli

Ingredients

  • 2 pounds beef, sliced
  • 1 can beef and mushroom soup
  • ½ cup brown sugar
  • ½ cup soy sauce
  • 3 cloves garlic, minced
  • 1 tablespoon sesame oil
  • 1 teaspoon ginger, minced or grated
  • 2 tablespoons corn starch
  • 3 cups fresh or 10 ounce bag frozen broccoli cuts, steamed

Directions

To cook now:

  1. Dump meat into crockpot.
  2. Mix remaining ingredients together.
  3. Pour over beef.
  4. Cook on low for 6-8 hours.
  5. Before eating stir in broccoli.

To freeze for later:

  1. Dump beef into one gallon freezer bag. Can be split into two bags.
  2. Mix remaining ingredients except broccoli together and dump on top of meat.
  3. Seal and freeze.

Follow To cook now directions on cooking day.

Freezing tip: Place freezer bag into 64-96 ounce plastic bowl to load. This will give you stability and free up your hands. Then, freeze, bowl and all. I know you have seen freezer meals all flat and stacked on the freezer shelves. It’s a thing of beauty, but the shape simply does not fit into a crock pot without defrosting. The bowl also prevents the meal from freezing around the wire on the shelves. Remove bowls when frozen to use for more dinners.

dump-dinner-bowls


Posted in Involving the Heart

Making Memories

memories-are-made

This week has been full of making memories with my girls in Oklahoma.

We have made good use of our short time. There has been some sightseeing, a little shopping, cooking of good food, and talking, talking, talking. It has been so much fun.

Up until just a couple of years ago, my daughters all lived near us. We did a lot of life together. But the need to find work relocated two of them, along with their husbands and our grandchildren. I miss the days when we could just drop by and spend time together. Now we must be intentional with the time we set aside for visiting and make the most of each occasion.

I often wonder why we are not more like this in all our relationships.

I suppose it is because we think we’ll have time to get together as soon as things calm down. Most of us know that a slower life is a joke. The truth is, we will be waiting for a long time for that to happen. And when things actually do get slower, our neglected friendships will be long dead and buried.

So, I propose we take this matter to heart. Let us not allow our friendships grow cold. Let’s be intention with gathering together and making memories. In years to come, it will be good to have a treasure trove of stories that always begin with “Remember when. . .”

“We do not remember days, we remember moments.”

Cesare Pavese

us-at-the-mercantile


Are you wondering what good things we cooked while we were visiting?

Lots of great stuff, but one thing that usually shows up on the table when we get together is Beef Enchiladas. I learned this easy recipe when the church we attended would sell these enchiladas to raise funds for an outreach to Mexico. We liked them so much we have continued to enjoy them all these years later. They also bring back the memory of doing something pretty special with a group of people who wanted to do good in the world by serving others. Ever since then, I have had an ongoing love affair with serving the people of Mexico. See Hope Under Construction and For Goodness Sake to find out more of what I’m up to and the ministry I serve with there.

Beef Enchiladas

Ingredients

  • 1 ½ pounds lean ground beef
  • 1 medium onion, chopped
  • 1 large can of red enchilada sauce or 1 recipe of homemade
  • 10 6-inch flour tortillas
  • 1 ½ cups shredded cheddar cheese
  • Sliced black olives
  • Toppings—sour cream, sliced green onions, etc.

Directions

  1. Heat oven to 375°F. Spray 13×9-inch (3-quart) baking dish or pan with cooking spray.
  2. In 10-inch nonstick skillet, cook beef and onions over medium-high heat 5 to 7 minutes, stirring occasionally, until thoroughly cooked; drain. Stir in 1/2 cup of the enchilada sauce to season meat mixture.
  3. Spread additional 1/2 cup of the enchilada sauce evenly in baking dish. Spoon about 1/4 cup beef mixture down center of each tortilla; sprinkle with 1 tablespoon cheese. Wrap tortillas tightly around filling, placing seam side down in baking dish. Top with remaining enchilada sauce. Sprinkle with remaining cheese and sliced olives.
  4. Bake 20 to 25 minutes or until hot and bubbly. Let stand 5 minutes before serving.
  5. ENJOY!

This is an excellent dish to make for a someone who needs a little pick-me-up and a visit from a friend.

enchilada-fixings

Posted in Easy Recipes for Busy Days, Main Dish, Slow Cooking

Dinner’s Ready! Slow Cooking for Busy Days


One of my struggles is having something ready to eat at the end of the day. Crazy for a food blogger to admit. Even more so, when you realize my commute from my workplace to my kitchen is literally ten feet. It should be easy for me to just pop in the kitchen and whip something up, but it doesn’t always happen.

This topic came up on a recent trip to visit my daughters in Oklahoma. They told me they were dealing with this problem in their life, too. [Their commute is much longer than mine.] Work zapped all their energy, leaving them uninspired when it came time to cook. Fast food was taking its toll on their bank account and on their health. And eating on the fly was not allowing them to sit down, relax, and reconnect with their families.

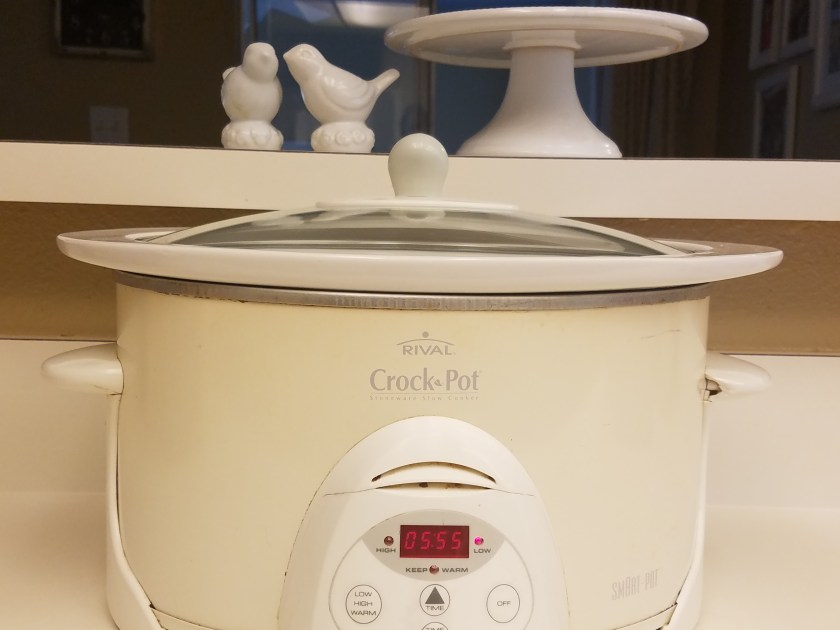
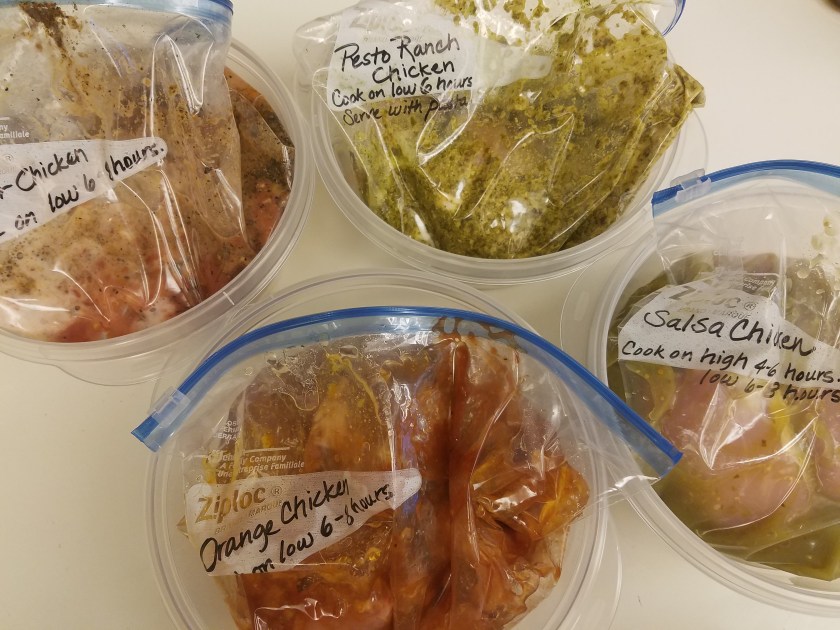
I mentioned once-a-month cooking, but they needed something that took less prep and could go directly in the slow cooker from the freezer. With a little research, we found what are called dump dinners. They are just what the name implies. Dump all the ingredients into the crock pot, set the timer, and voila’ dinner is ready when you return home. The beauty of these meals is that with a little time and planning, you can have a few packaged up in the freezer, ready to go.

Before our visit was over, the girls had some in their freezer. All they had to do each morning was put them in the slow cooker, set the time and temperature, and go. They have since reported back saying how much they enjoyed them. One added benefit—they loved walking into the house after a long day to the smell of home-cooked food. They felt spoiled, and hoped more dinners would find their way into the freezer the next time I came to visit. Lol!

Now that I am back home, I have been testing some recipes for myself. This week we enjoyed Pesto Ranch Chicken [See recipe below.] It was delish and oh so easy. I shared on social media what I was doing and it seems there is a lot of interest in having meals with little to no prep and can go from freezer to crockpot. Our fast-paced culture has not diminished our desire to come together and eat something good at the end of the day. This method of cooking makes that easy, and adds an aroma of goodness to welcome you home.

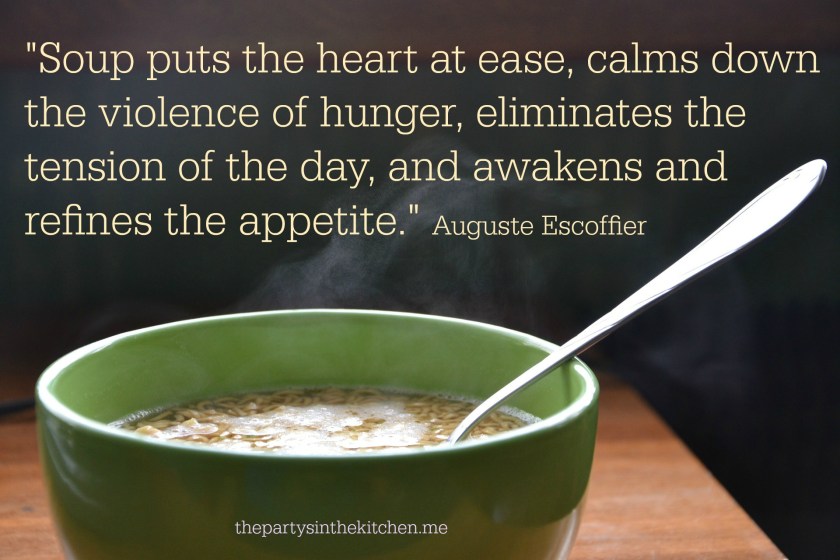
The smells of slow cooking spread around the house and impart a unique warmth matched only by the flavour of the food.

Yotam Ottolenghi


crock-pot

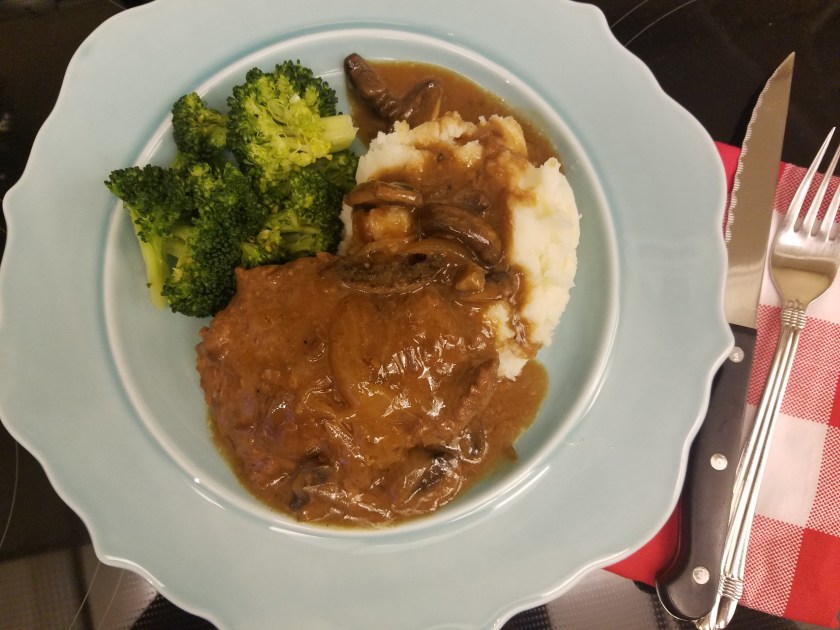
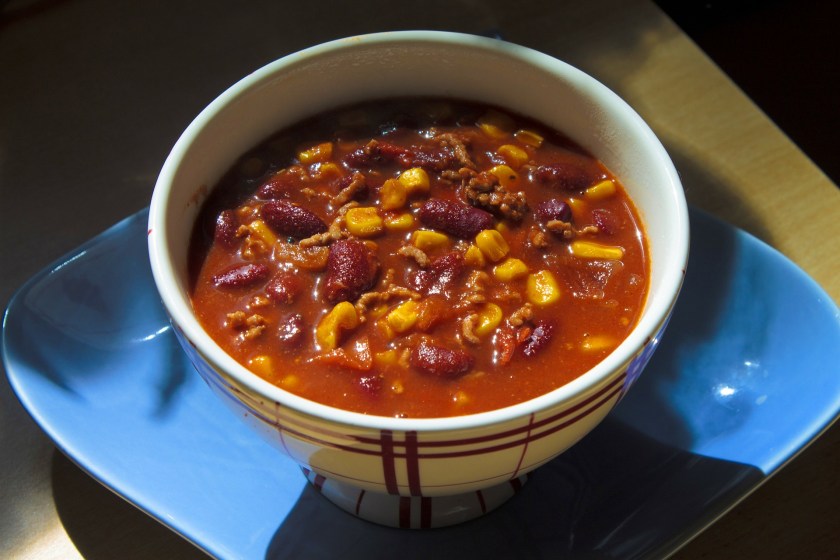
Over the next few weeks, I will be posting some of the Dump Dinner recipes I’m trying. Here is the one I put together today. It reminds me of the flavor of Salisbury Steak.

Savory Steak and Gravy

Ingredients

  • 1 ½ – 2 pounds cube steak
  • 1 cup sliced onion
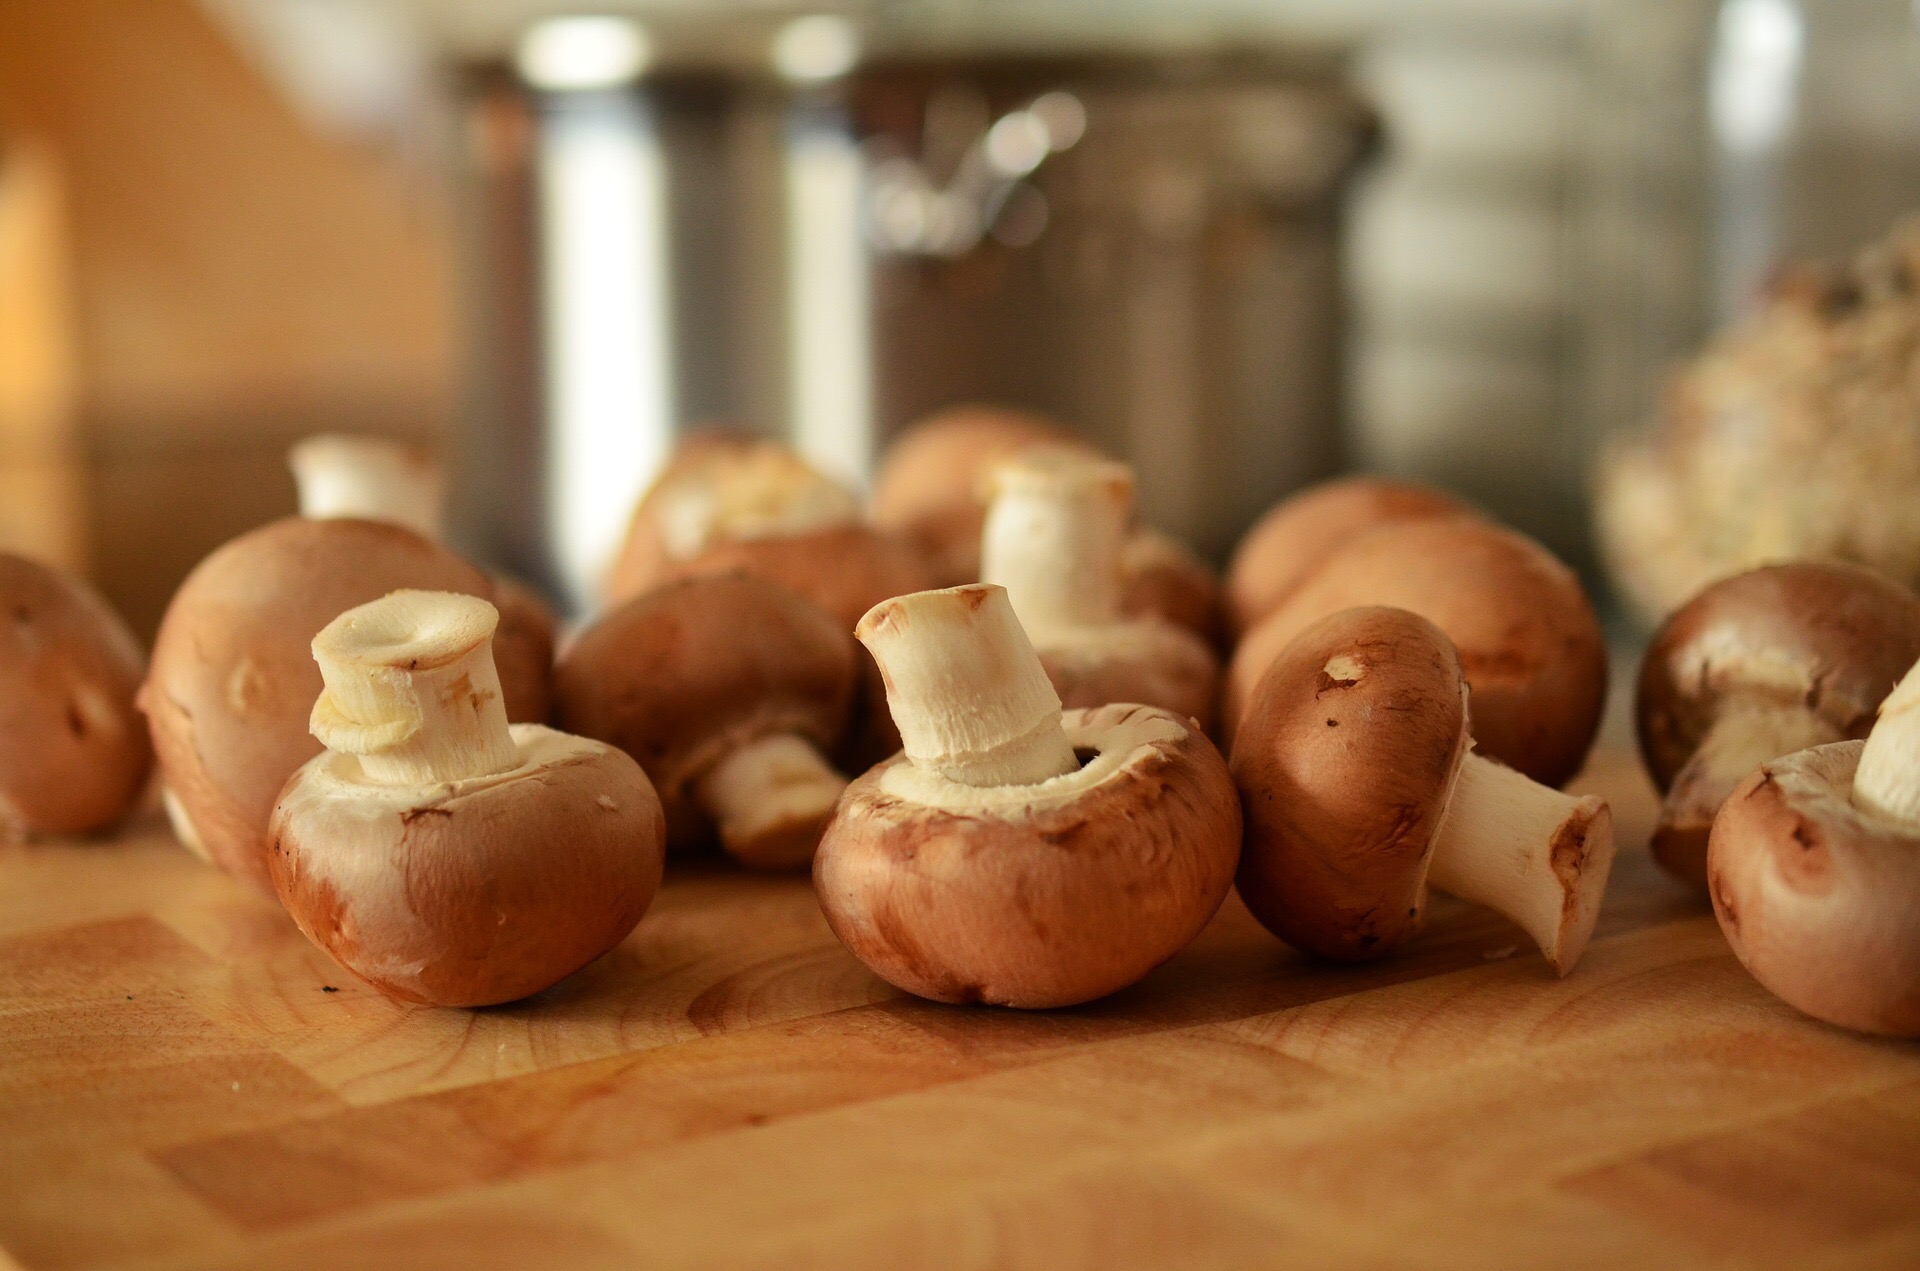
  • 1 cup sliced mushrooms
  • 1 can cream of chicken and mushroom soup
  • 1 can French onion soup
  • 1 package au jus gravy mix
  • 2/3 cup water
  • 1 tablespoon Worcestershire sauce
  • 2 tablespoons cornstarch
  • 2 tablespoons water

Directions

  1. Whisk together cream of chicken and mushroom soup, French onion soup, Au jus gravy mix, Worcestershire sauce, and 2/3 water in crock pot.
  2. Add onions, mushrooms, and cube steak.
  3. Cook on low for five hours.
  4. Mix together 2 tablespoons cornstarch with 2 tablespoons water. Add mixture to sauce in crock pot to thicken.
  5. Serve with potatoes, noodles, or rice.
  6. Enjoy!

To freeze ahead: Dump meat, onions, mushrooms, soups, gravy mix, and Worcestershire into a one gallon freezer bag and freeze for up to three months. When it’s time to cook, dump frozen into crock pot along with 2/3 cup water. Cook on low for 6 hours. Thicken and serve.

steak-and-gravy2

Pesto Ranch Chicken

Ingredients

  • 1 ½-2 pounds boneless, skinless chicken breasts or thighs
  • 1 small jar pesto sauce
  • 1 package or 2 tablespoons dry Ranch dressing mix
  1. Dump all ingredients into crock pot.
  2. Cook on low 5 hours.
  3. Enjoy!

To freeze: Put all ingredients into one gallon freezer bag and freeze up to 3 months.


Here are just a few tips I have found helpful before you get started.

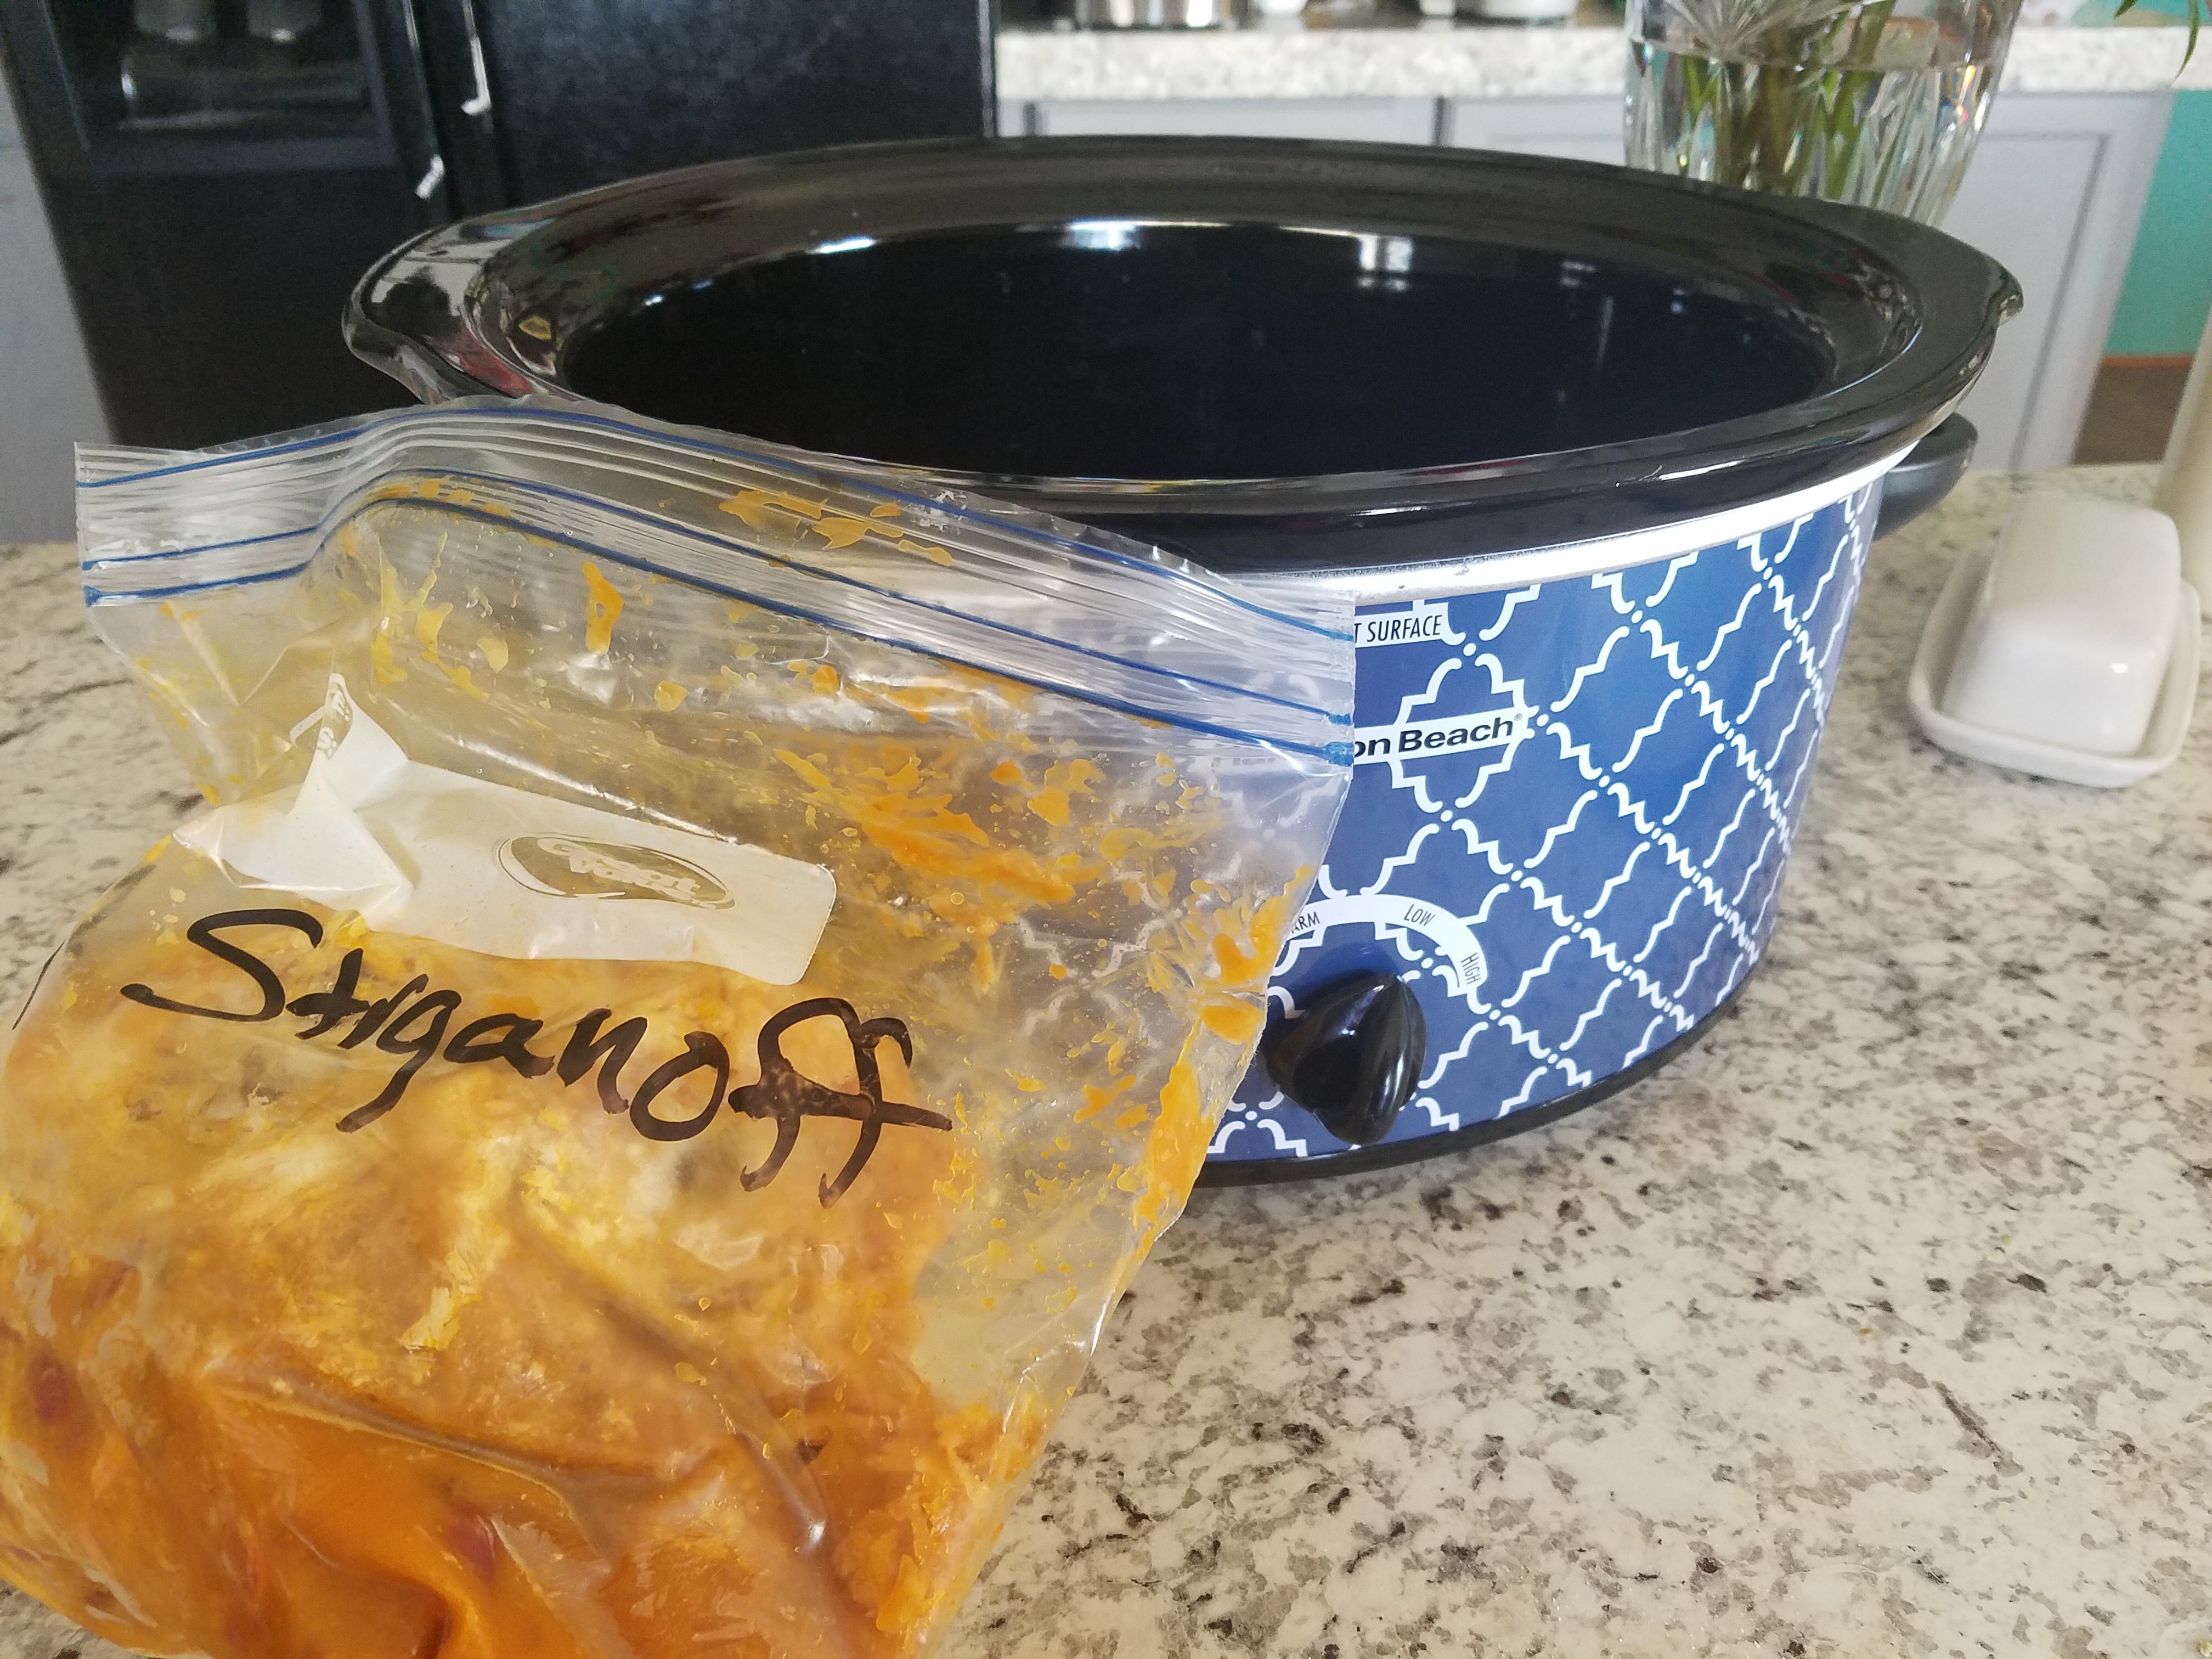
  • Label your freezer bags with a permanent marker and allow it to dry before you get started. Along with the name of the recipe, date packaged and cooking time and heat, include any ingredients such as water or broth that must be added at time of cooking.
  • Place the freezer bag into a 64-96 oz. plastic bowl when ready to load. This will give it stability and will free up your hands.
  • Leave meat in whole pieces. It cooks better and can be cut up or shredded when done.
  • Freeze bag in bowl. This is a very important step. I know you’ve seen pictures of freezer meals all flat and stacked neatly on the freezer shelf. It’s a thing of beauty, but the shape simply doesn’t fit into the crock pot. Freezing the bag in bowl will give it the right shape to fit easily into the slow cooker without defrosting. Note: No need to leave in bowl once frozen. Remove and reuse bowl to shape more dinners.

Have fun! Please share your favorites with us. I’d love to hear about your life in the kitchen.


Posted in Baked Perfection

There’s Something About the Aroma of Holiday Cheer

thumbprint-cookies
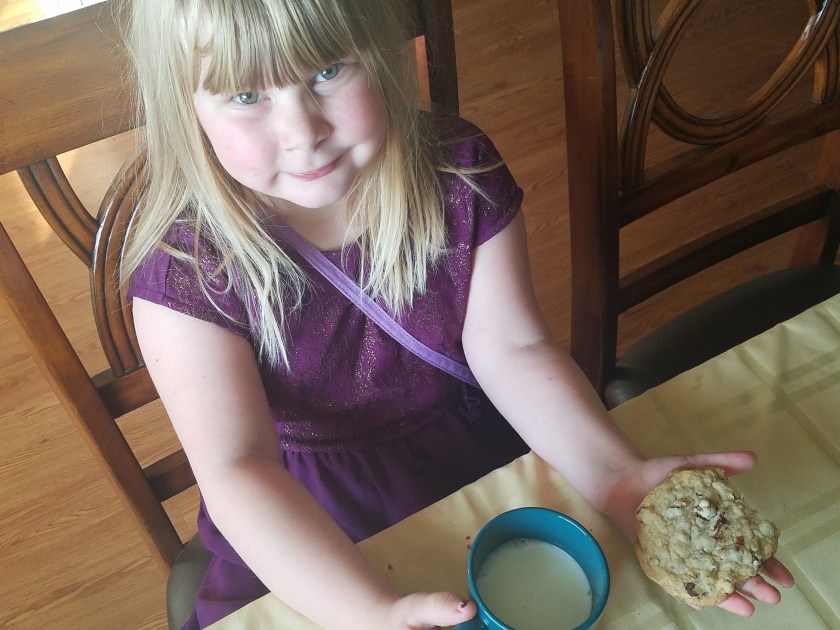
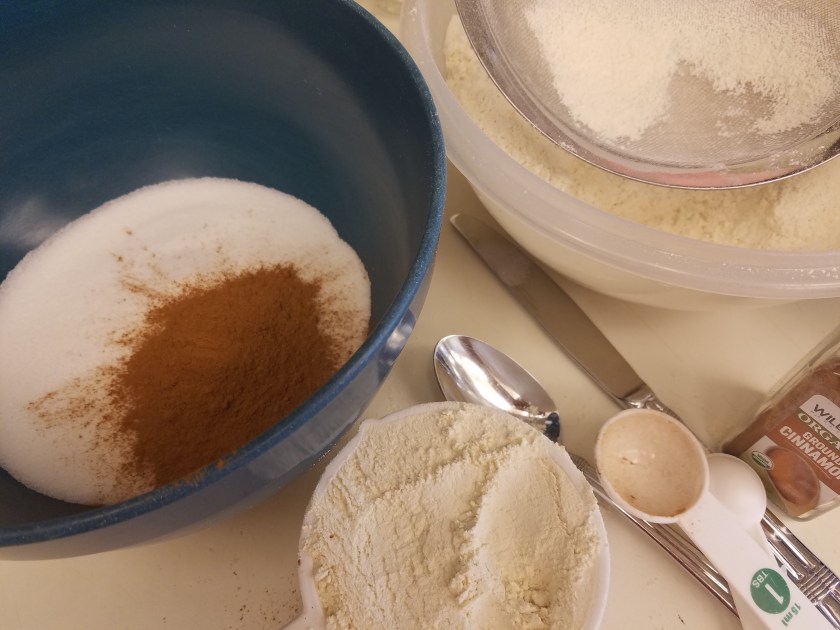
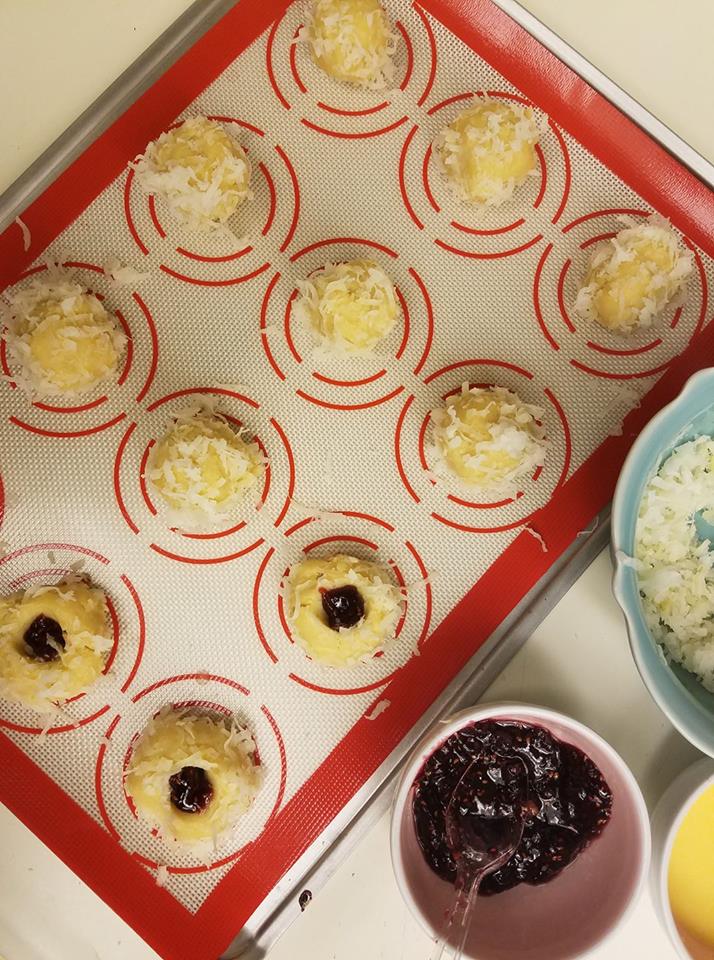
Baking has erupted in my kitchen. The fragrance of butter and cinnamon announce that feast day is almost upon us and it’s gonna be good.

I love when I am cooking up something yummy for my friends and family. There is a certain satisfaction in it all.  In years past, I have baked dozens of cookies to share with my husband’s co-workers. They were not just any cookie. They were one of the best cookies I’ve ever tasted and have become my go-to when a gift of food is called for. I have had people casually mention that Christmas was coming as a reminder they hoped so were the cookies.

Our tradition for many years was to bake and package, then gather my  grandkids to make a delivery run. At first, they felt a little awkward greeting people they did not know. But once they received a gracious thank you from the recipients, they began to get the idea of what sharing the holiday cheer was all about. In a small way, they were learning the gift of hospitality and the joys of its actions.

Today, all I need is the smell of the kitchen on days when I bake thumbprint cookies to remind me of those good times. Such great memories surround the making and sharing of food. I hope your celebrations make some great ones to store up and cherish.


Here is that very yummy cookie recipe from Ina Garten. I’m sure they would be happy to join your Christmas feast. Enjoy your holiday!

Jam Thumbprint Cookies

Ingredients

  • ¾ pound (3 sticks) unsalted butter at room temperature [I use salted.]
  • 1 cup sugar
  • 1 teaspoon pure vanilla extract
  • 3 ½ cups all-purpose flour
  • ¼ teaspoon kosher salt
  • 1 egg beaten with 1 tablespoon of water, for egg wash
  • 7 ounces sweetened flaked coconut
  • Raspberry or apricot jam

Go here for instructions.


Grandkids at about age 12. Two are twins and were born when the other sib was just eleven months old. These Irish triplets are the same age about three weeks right around Christmastime.

carrie-nick-and-simon


Posted in Breakfast, Coffee Time, Dessert

Cinnamon and Butter? Yes, Please.

coffee-cake-mixinsOh, yum! Some dear friends of ours introduced us to Carolyn’s Café in Redlands. Even though it was nearly lunchtime, I opted for breakfast. The reason? Carolyn’s famous coffeecake. It comes with the breakfast plates. The delicate, cinnamon-sugar encrusted cake is very hard to resist, especially with a scoop of butter melting into the top and down the sides.  OMGoodness is it ever delicious. Yes, I shared, but it was tempting to eat it all myself. So, because I know most you don’t live near Carolyn’s Café , and you are feeling gipped, I did some digging and found a recipe.  Good ol’ King Arthur Flour has one that fits the bill.

Warning: This information may be dangerous.

Cinnamon-Streusel Coffeecake

Streusel Topping

Topping

  • 1 cup brown sugar, light or dark
  • 1 1/2 tablespoons ground cinnamon
  • 1 teaspoon unsweetened cocoa powder

Cake

  • ¾ cup butter
  • 1 teaspoon salt
  • 1 ½ cup granulated sugar
  • 1/3 cup brown sugar
  • 2 ½ teaspoons baking powder
  • 2 teaspoons vanilla extract
  • 3 large eggs
  • ¾ cup sour cream or plain yogurt
  • 1 ¼ cups milk
  • 3 3/4 cups King Arthur Unbleached All-Purpose Flour

Instructions

    1. Preheat the oven to 350°F. Lightly grease a 9″ x 13″ pan, or two 9″ round cake pans.
    2. Make the topping by whisking together the sugar, salt, flour, and cinnamon. Add the melted butter, stirring till well combined. Set the topping aside.
    3. Make the filling by mixing together the brown sugar, cinnamon, and cocoa powder. Note that the cocoa powder is used strictly for color, not flavor; leave it out if you like. Set it aside.
    4. To make the cake: In a large bowl, beat together the butter, salt, sugars, baking powder, and vanilla until well combined and smooth.
    5. Add the eggs one at a time, beating well after each addition.
    6. In a separate bowl, whisk together the sour cream or yogurt and milk till well combined. You don’t need to whisk out all the lumps.
    7. Add the flour to the butter mixture alternately with the milk/sour cream mixture, beating gently to combine.
    8. Pour/spread half the batter (a scant 3 cups) into the prepared pan(s), spreading all the way to the edges. If you’re using two 9″ round pans, spread 1 1/3 cups batter in each pan.
    9. Sprinkle the filling evenly atop the batter.
    10. Spread the remaining batter atop the filling. Use a table knife to gently swirl the filling into the batter, as though you were making a marble cake. Don’t combine filling and batter thoroughly; just swirl the filling through the batter.
    11. Sprinkle the topping over the batter in the pan.
    12. Bake the cake until it’s a dark golden brown around the edges; medium-golden with no light patches showing on top, and a toothpick or cake tester inserted into the center comes out clean, about 55 to 60 minutes for the 9″ x 13″ pan, 50 to 55 minutes for the 9″ round pans. When pressed gently in the middle, the cake should spring back.
    13. Remove the cake from the oven and allow it to cool for 20 minutes before cutting and serving.
    14. Serve cake right from the pan. Carolyn’s plops a big scoop of butter right on top for extra yumminess.
    15. Enjoy!caolyns-coffee-cake2

      This is going to take the place of cinnamon rolls at our house on Christmas morning.
      If you live Southern California’s Inland Empire, please visit Carolyn’s and see for yourself. Be prepared to wait. It’s a very popular place. Don’t worry. The sweet smell of cinnamon will keep you company.